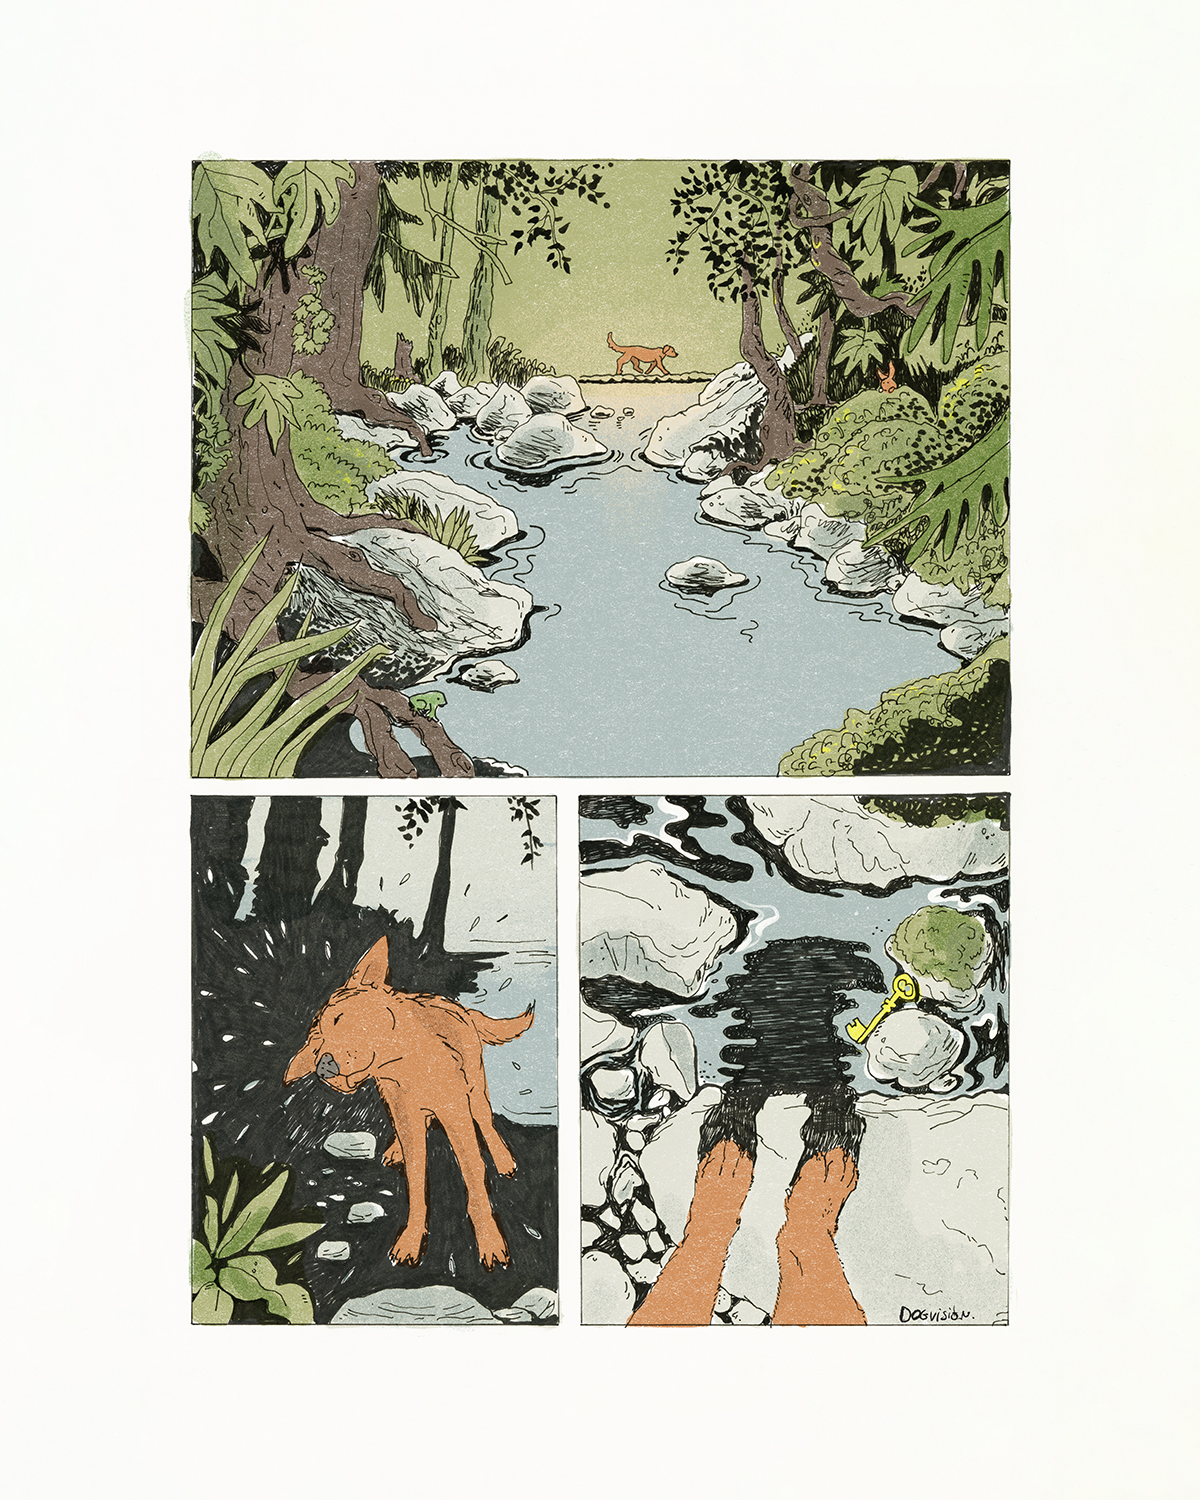
Riverside mystery- from sketch to final illustration
Do you ever stumble upon scenes that feel like they belong in a story? Recently on a walk with the dogs, a narrow, overgrown path that didn’t look very promising, suddenly opened up at the edge of the forest and turned into a track made of pine cone needles – all the way up to a small dam. In between the dam and an old cabin that was falling apart, there was a timber bridge going further into the woods. But it was the creek with its rocks and flow that attrackted us the most- well, Oona was mostly splashing around and catching sticks 🙂
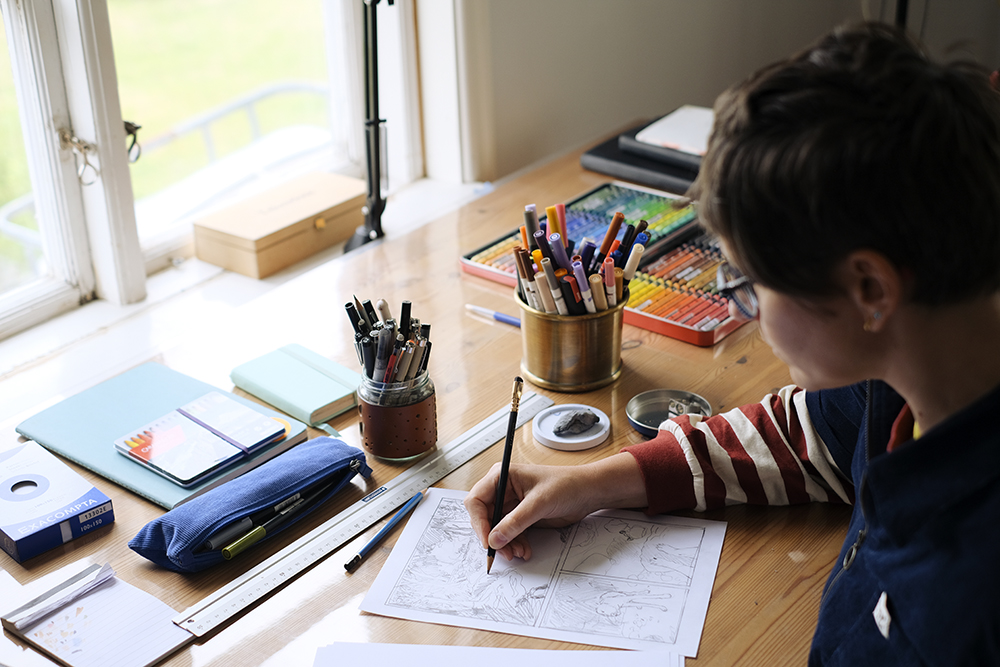
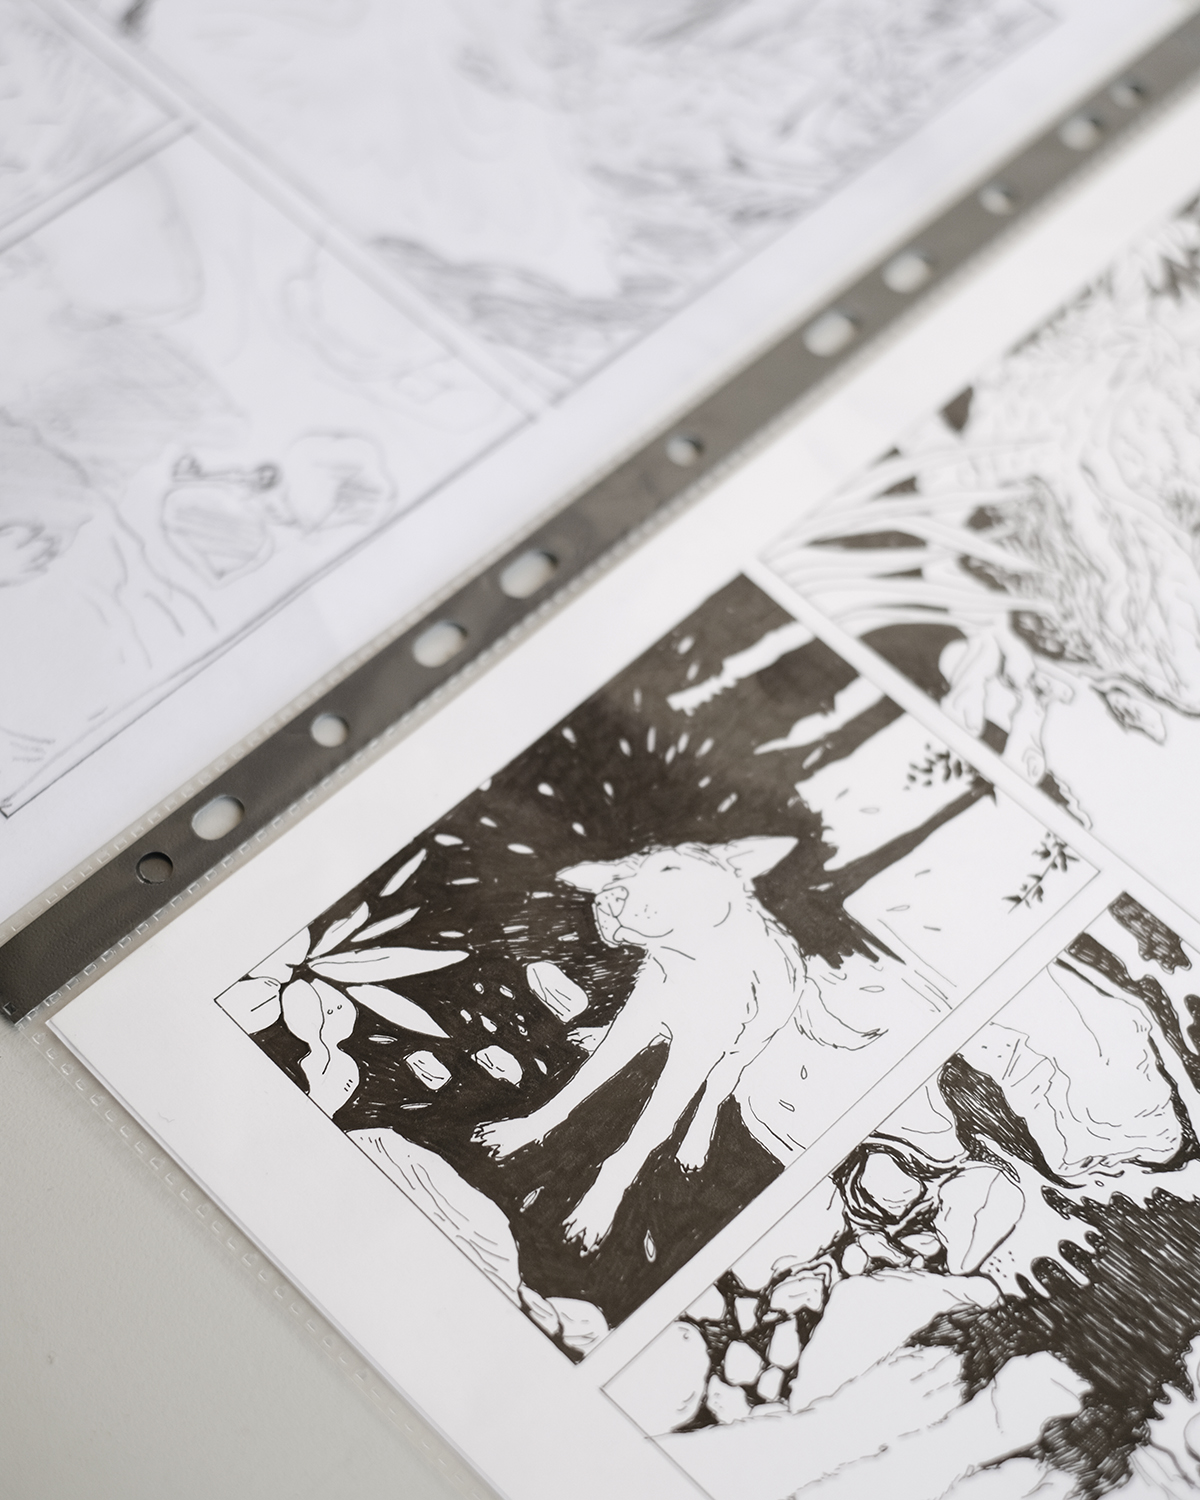
STEP 1:
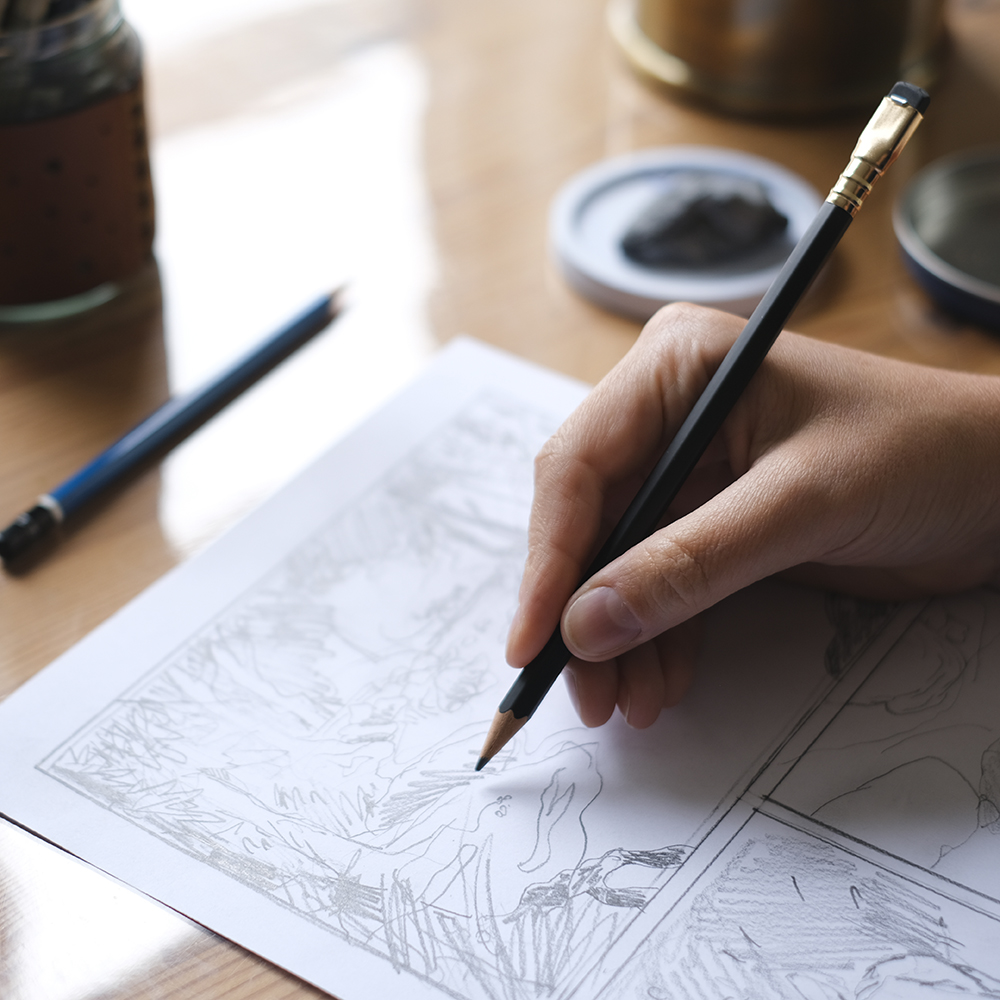
The idea for this illustration came fast, as did the first rough outlines. In the next step, I determine how much or little detail I want- still working on the same sketch with a pencil.
STEP 2:
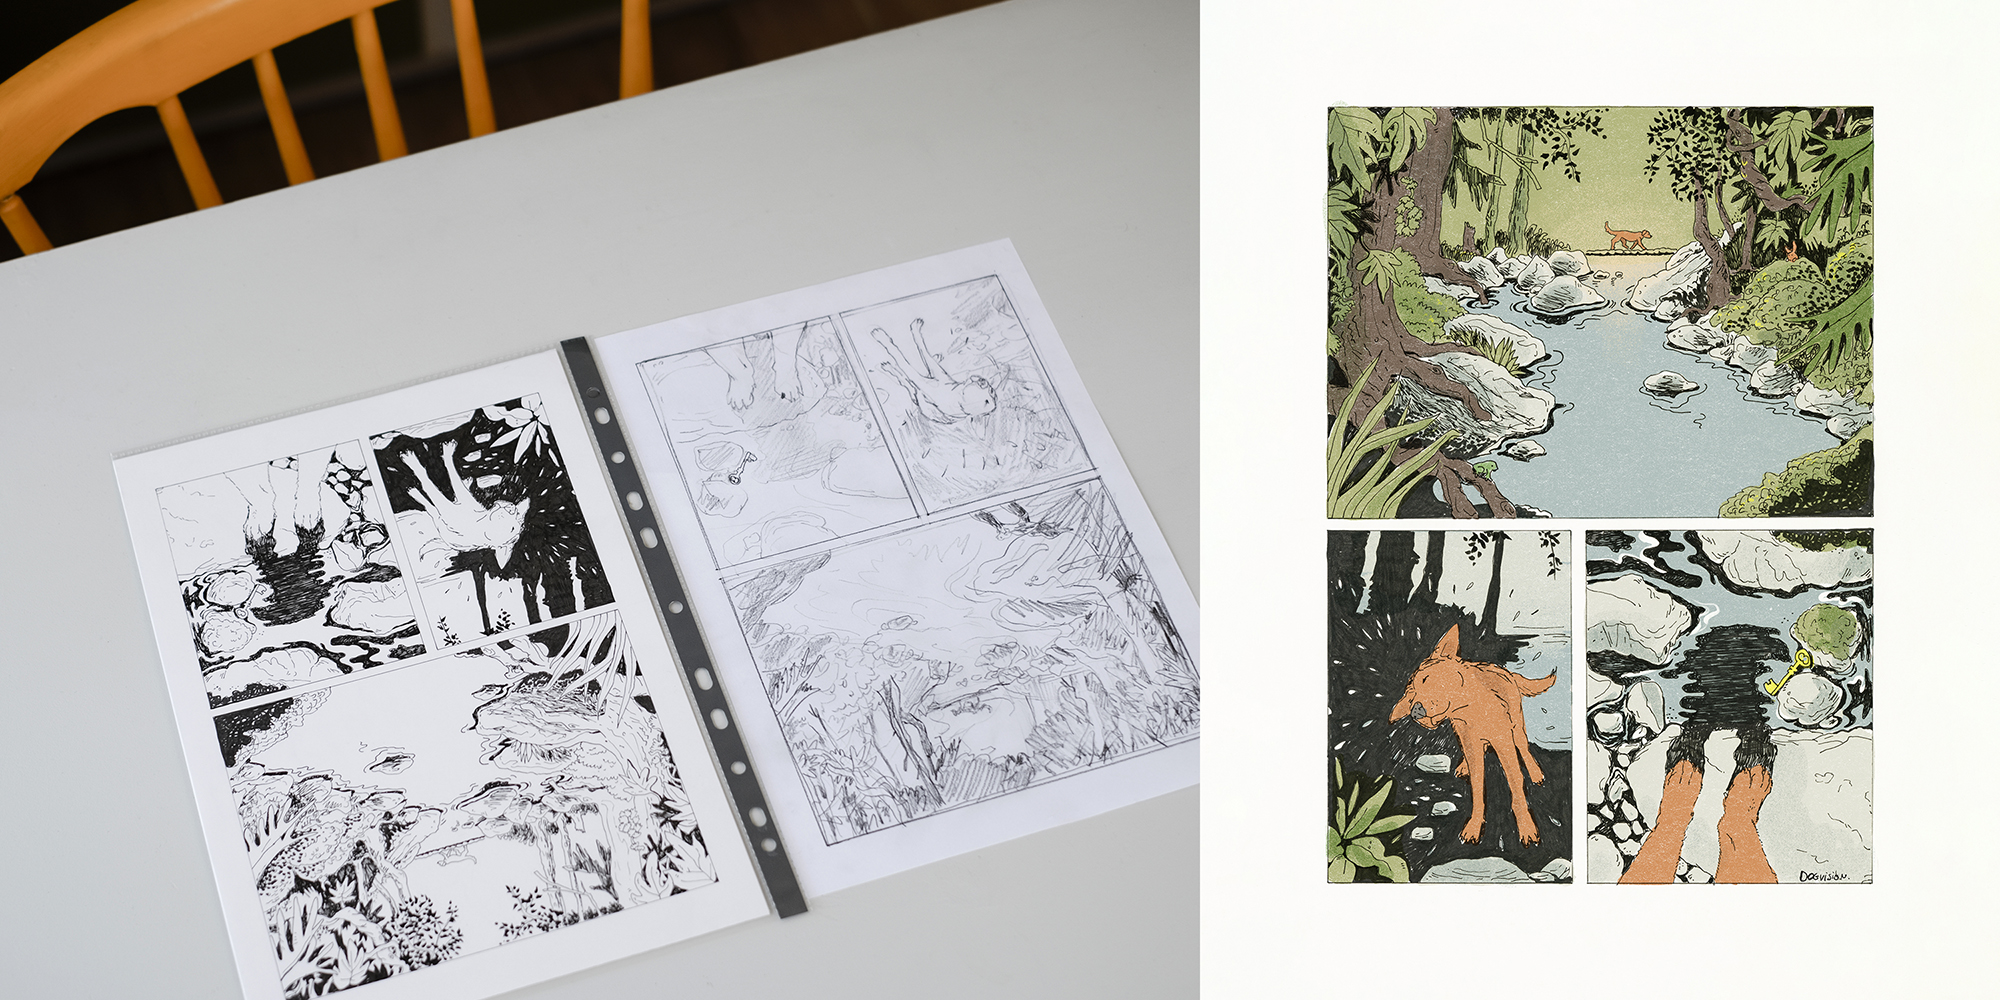
When the sketch feels finished, I take it to the light box so I can trace the image lightly- this way I can erase the pencil lines before scanning. Back in the days, illustrators or comic artists could use non-photo blue pencils because these didn’t show up in photocopies, but scanners these days register every little detail. I also prefer keeping my original sketch in case I mess up inking.
STEP 3:
Time to ink! The most fun and satisfying part, but aslo the most stressful one. I prefer doing everything by hand with fineliners (I’d like to get a dip pen one day) – so there is no CTRL Z or undo button. I always start with the elements that are the most important so that if I make a big mistake, I can start over right away.
STEP 4:
Colouring.
After scanning the image, I add colours digitally in Procreate: