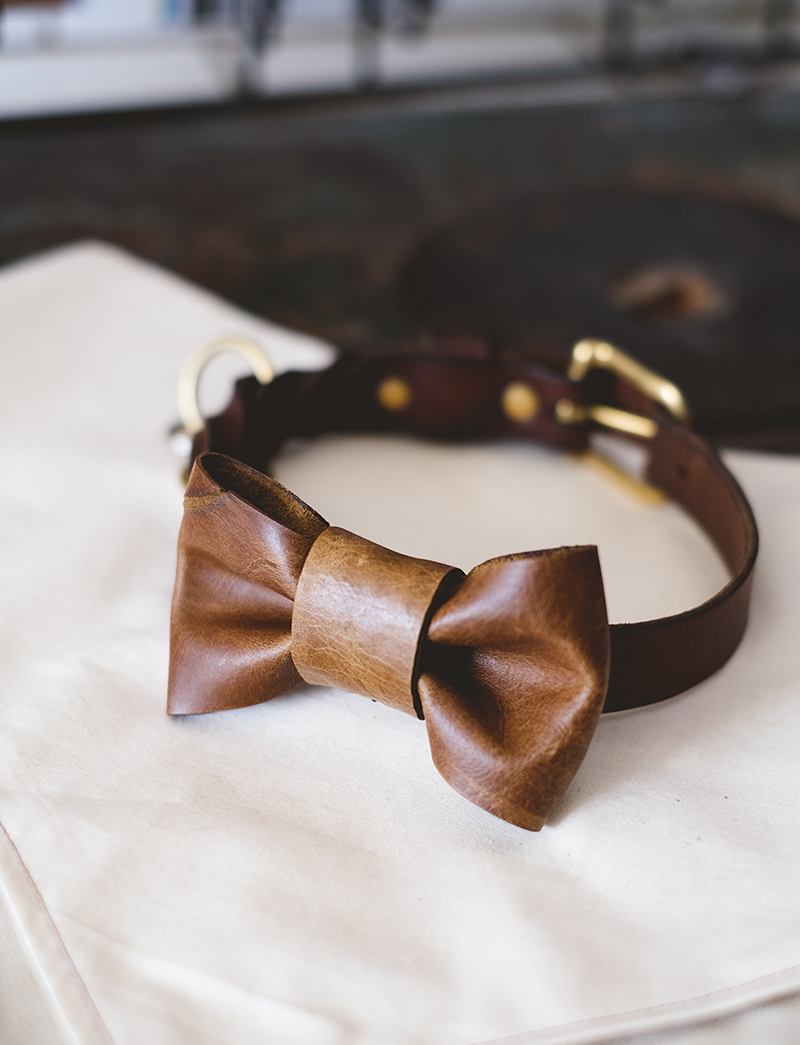
DIY leather bow-tie

Since I’ve gotten a bag of scrap leather a while ago, I’ve been having a lot of fun creating all kinds of small leather goods. I made leather hearts for my dog’s collars, a memory card case, a pencil case, and some key chains. Every project makes me more curious about working with leather, but while I hope that one day I might be able to make a collar, now I tried something more simple: a leather bow-tie.
Bow-ties can look super cute as a prop during a photo session, especially for special announcements or events- or even a really cute or cool portrait. While I created this one in brown- to more or less match Mogwai’s collar- you can use any color you want to make it match the personality of your dog or the event that it will be used for.
–Red or pink are mostly associated with love, Valentine, or a baby girl. Red alone or combined with white or green are also very much Christmas.
–Blue is a color that matches with a lot of dog coats, it often represents trust/calmness, and most tints don’t take away too much attention from the dog. When photographed by the beach or in the snow, the blue might make a visual link between the dog and its surroundings.
–White and beige can be very stylish and chic, especially when you pay a lot of attention to details and finishing of edges and the shape. It can be subtle for everyday wear or even be worn at a wedding party or summer fest.
–Yellow is a happy spring/summer color, I would think Easter or Midsommar, but perhaps a warm tint of yellow looks fantastic for an autumn shoot with colorful leaves.
–Purple is a royal color with a bit of mystery. But I can also see it for a summer shoot amongst purple and pink flowers, for a bright birthday shoot, or on halloween. I personally prefer golden hardware over silver to go with purple.
–Green, especially the darker shades can make you think of endless forests and wild nature (or Christmas too) but bright green is more st Patrick’s day. Green can be a difficult color for a shoot when it might blend in with grasses or leaves. At the moment, many people seem to dislike green in photographs.
–Black can be super cool and stylish, especially with a very sleek design. I would suggest rather stiff leather or faux leather to make this work.
–Brown is natural, earthy, rustic, and warm. On some dogs it might blend in too much, on others, it might be a subtle detail that complements their fur.
Every color has, of course, different tints and shades so this list is rather meant as an inspiration than a restriction 🙂
What you need:
– leather or faux leather. I used scrap leather so you can see it already had some scratches and imperfections but I’m ok with that since I make these things for fun and practice. Depending on how or where you want to use it, you might want a smooth piece (for a stylish event or look) or a faux leather piece if you’re mostly shooting at the beach.
– Needles and thread. I used waxed thread for leatherwork but you can also use nylon. Mine is rather thick since I like that look and it’s soft on my hand when practicing.
– Edge finisher (optional), I use a wooden slicker and Tokonole. But if your leather is smooth or you use faux leather, you might not even need it.
– Awl or something to make holes for stitching.
–Scissors or knife.
–Ruler.
– Paper or cardboard.
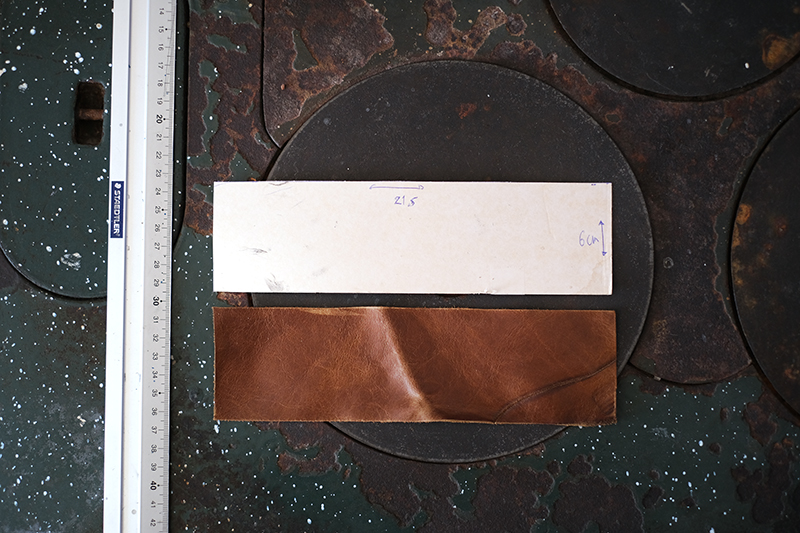
I created the pattern on cardboard first since that’s easier than measuring directly on the leather. This bow tie is for a medium-sized Border Collie and will be about 11 cm (4,3 inches) wide in the end. Since the main piece is one big piece that will be sewn together in the back, it has to be double the width. If you want, for example, a bow tie that will be 8cm wide, you will need a piece that is 16 long.
I chose 21 cm long (8,2inches) x 6cm (2,3inches). After cutting, I made the edges smoother with the Tokonole, marked the holes (I use this tool because it’s easier than measuring but a ruler will work fine), pricked the holes, and stitched the pieces together. I made a good knot in the end but left the threads for now.
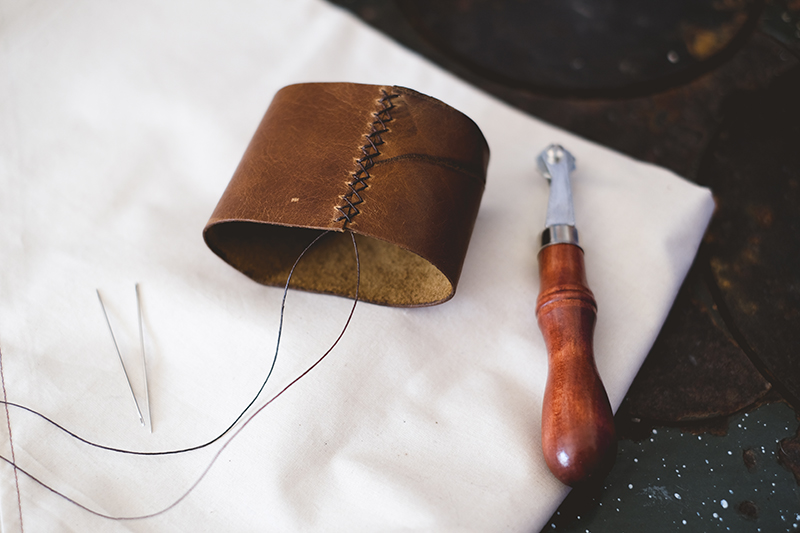
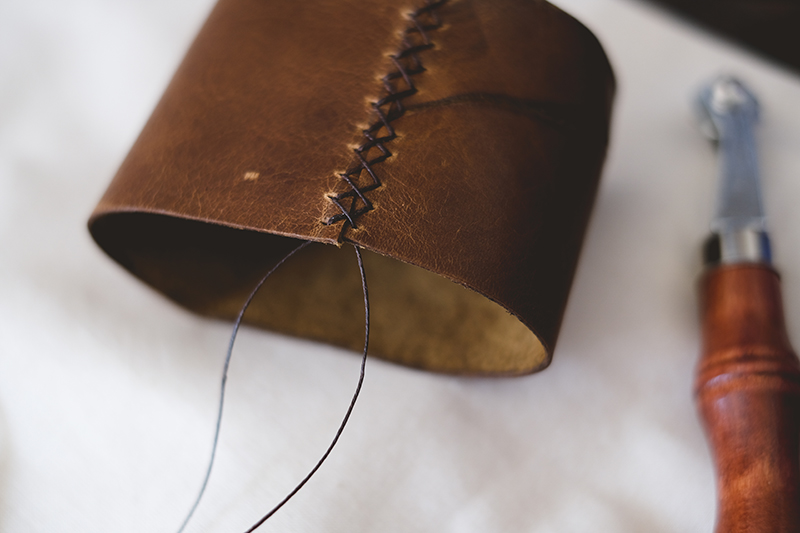
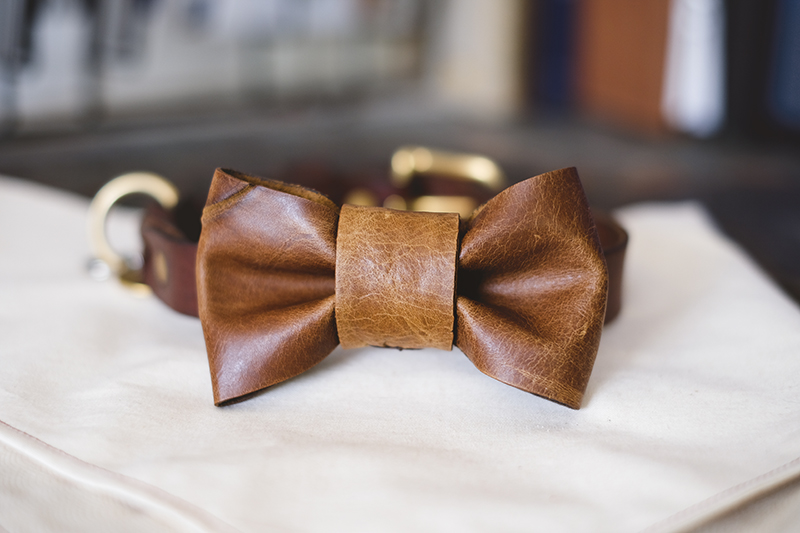
I pressed this loop of leather flat with the stitches in the middle and then gently pressed the sides together to see how loose or tight I would like the middle piece to be. I measured that circumference with a piece of thread.
Then I cut a piece of around 2,5cm (0,9inches) x 20cm (7,8 inches) and marked the length of the center on this piece and sew the first loop. When that’s all tight, carefully pull that loop over the leather to the middle so you will already see the bow-tie shape. But of course, it still needs to be attached to the collar- and there are several options for that.
1.You can make only one loop and pull the collar through/ or make an extra band that will go through and around the dog’s neck.
2.You can make another loop with the same piece (that’s why I cut a very long piece) by going around again and stitching it tightly with the threat that was left from the first stitching- this way the middle piece will stay perfectly in place.
3.You can attach smaller loops of velcro to the back of the bow-tie that will go around the collar–> this option is very interesting if you have to adjust the size to different collars.